
Moving out of a rental property can be a stressful process, filled with numerous tasks and deadlines. Whether you’re a seasoned renter or a first-timer, a comprehensive checklist is crucial for a smooth and successful move. This checklist will guide you through every step, from notifying your landlord to ensuring you receive your security deposit back. Proper planning and execution are essential to avoid potential issues and ensure you leave your rental in good standing. Using this moving out of a rental checklist will help you stay organized and avoid any last-minute surprises.
This moving out checklist covers everything you need to know to navigate the move-out process effectively. From understanding your lease agreement and providing proper notice to conducting a thorough cleaning and final walkthrough, each step is detailed to help minimize stress and maximize efficiency. This checklist serves as your comprehensive guide, offering helpful tips for a smooth transition and ensuring you’re prepared for every stage of moving out of your rental. By following this checklist for moving out of a rental, you can ensure a seamless transition and focus on settling into your new home.
Start with a Moving Timeline
A moving timeline, also known as a dynamic or interactive timeline, presents chronological information in a visually engaging and flexible way. Unlike static timelines, which are fixed and offer limited interaction, moving timelines allow users to explore events across different periods by scrolling, clicking, or using other interactive elements. This capability makes them ideal for presenting complex histories, project milestones, or any data that benefits from a visual representation of its progression over time.
The key advantage of a moving timeline is its ability to accommodate large amounts of information without overwhelming the viewer. By allowing users to control the pace and scope of their exploration, moving timelines facilitate a deeper understanding of the subject matter. They are particularly effective for showcasing cause-and-effect relationships, highlighting key turning points, and providing context for individual events within a larger historical narrative or project lifecycle. This interactivity enhances engagement and promotes knowledge retention.
Creating a moving timeline often involves specialized software or online tools, although simpler versions can be achieved with basic presentation software. Key features to consider include the ability to add images, videos, and descriptive text to enrich the presentation. Customization options, such as color schemes and layout choices, also contribute to the effectiveness of the timeline in communicating information clearly and concisely to its intended audience.
Notify Your Landlord Properly
Providing proper notice to your landlord is crucial when terminating a lease or rental agreement. Failing to do so can result in penalties, including additional rent charges or legal action. Your lease agreement outlines the specific required notice period, typically 30 or 60 days. Ensure you deliver notice in the manner specified in your lease, such as certified mail, hand delivery, or email, and retain proof of delivery for your records. This official notification protects your rights and ensures a smooth transition out of your rental property.
The content of your notice should be clear and concise. State your intent to vacate the premises and the date of your departure. Include your current address and a forwarding address for any future correspondence. While not always required, consider briefly stating your reason for moving. Being upfront can foster a positive landlord-tenant relationship, even as you depart. This also helps minimize potential misunderstandings.
Finally, confirm receipt of your notice with your landlord. A simple follow-up call or email can prevent any disputes about proper delivery. Keep a copy of your sent notice, proof of delivery, and any correspondence with your landlord regarding your move-out date. These documents serve as important records should any discrepancies arise later.
Clean and Repair the Apartment
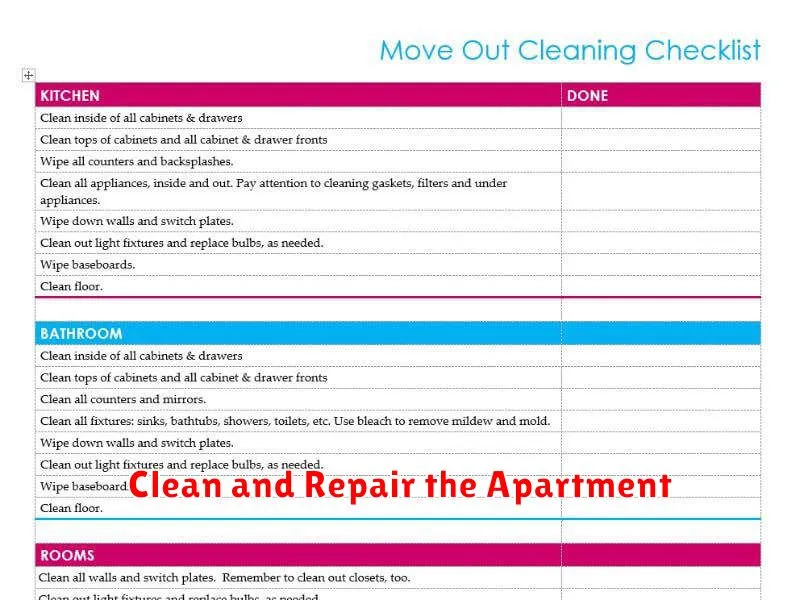
Cleaning the apartment involves a thorough approach to all areas. This includes dusting all surfaces, vacuuming or mopping floors, cleaning bathrooms (including toilets, sinks, and showers), and sanitizing the kitchen (including countertops, sink, and appliances). Don’t forget to empty all trash receptacles and clean windows and mirrors.
Repairs should address any damage or malfunctioning items. This might include patching holes in walls, fixing leaky faucets, repairing or replacing broken appliances, and addressing any electrical or plumbing issues. It’s important to prioritize repairs that affect safety and functionality.
Finally, a walk-through is essential after cleaning and repairs to ensure everything is in order. This allows for a final check to catch any missed details and confirm the apartment is ready for its intended use.
Take Photos for Your Records
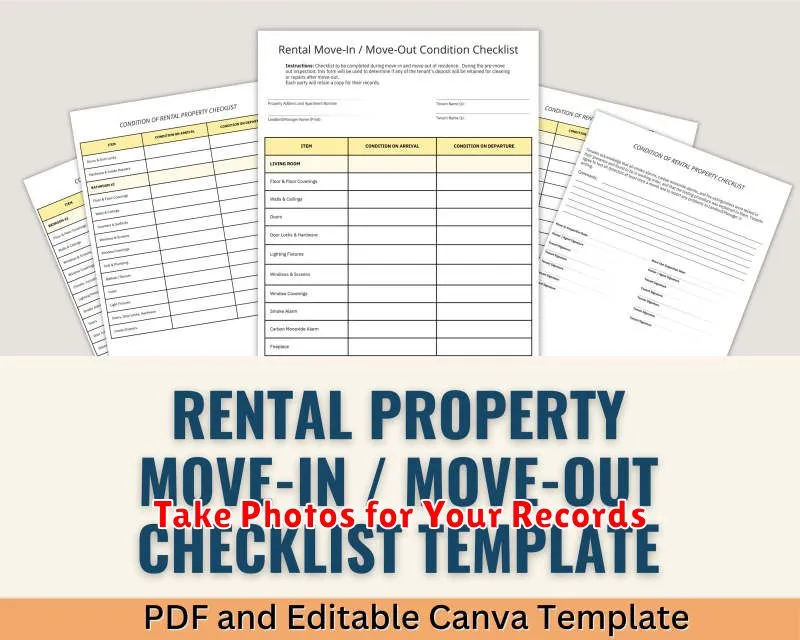
Taking photos is a quick and easy way to document important information. Consider photographing receipts, contracts, identification documents, medical information, household inventory, and anything else you might need for insurance purposes or other official records. This digital record can prove invaluable if the original documents are lost, damaged, or stolen.
Organize your photos in a way that makes sense for you. You can create folders on your phone or computer, use cloud storage, or employ photo organizing apps. Clearly label your photos with relevant keywords and dates to make them easily searchable. Regularly back up your photos to prevent data loss.
While digital photos are convenient, remember that physical copies of important documents may still be required in certain situations. Be mindful of privacy concerns when photographing sensitive documents. Avoid storing highly sensitive information solely in digital format.
Schedule a Walkthrough Inspection
A walkthrough inspection is a critical step in the real estate process, allowing potential buyers to thoroughly evaluate a property before making an offer. During this inspection, you can personally assess the condition of the home, identify any potential issues, and envision how the space would fit your lifestyle. Scheduling your walkthrough is essential to ensuring you have ample time to examine the property and ask any pertinent questions.
To schedule your walkthrough, please contact your real estate agent. They will coordinate with the seller’s agent to find a mutually agreeable time and date. Be sure to provide your agent with your availability as soon as possible to secure a preferred time slot. It’s highly recommended that you bring a checklist of items you want to inspect during your walkthrough. This will help you stay organized and ensure you don’t overlook anything important.
Prior to the walkthrough, it is often helpful to review any available disclosures or pre-inspection reports. This can inform your observation and allow you to formulate specific questions for the seller or your agent. Remember, the walkthrough is your opportunity to gain a comprehensive understanding of the property’s condition and suitability for your needs. Use this time wisely.
Return All Keys and Documents
Retrieving all keys and documents from a database or data structure depends on the specific system you are using. Most databases offer methods to query for all entries, often returning a cursor or iterator to efficiently handle large datasets. Key-value stores like Redis allow retrieval of all keys using commands like `KEYS *`, though this can be inefficient for large datasets and it’s often recommended to use scanning operations instead. For in-memory data structures like dictionaries in Python or JavaScript, you can iterate through all key-value pairs directly. It’s crucial to consider performance implications when retrieving all data, especially in production environments.
When dealing with document databases like MongoDB, you can retrieve all documents within a collection using find queries without specifying any criteria. This effectively retrieves all documents matching an empty query. Similar methods exist for other NoSQL and document-oriented databases. For example, in Couchbase, you might use a N1QL query similar to `SELECT * FROM bucket_name`. Remember to consider resource usage and potential performance bottlenecks when retrieving large datasets.
Choosing the right method for retrieving all keys and documents depends heavily on the underlying data structure and the size of your data. Consider using pagination or iterators when working with large datasets to avoid excessive memory consumption and improve performance. It is often better to retrieve data in batches or use indexing and filtering to narrow down the results whenever possible.
Following Up on Your Security Deposit
After moving out of a rental property, it’s important to follow up on your security deposit. Landlords are generally required to return the deposit within a specific timeframe, which varies by state. Check your lease agreement and local laws to determine the deadline. If the deadline has passed and you haven’t received your deposit or an itemized list of deductions, it’s time to take action.
Begin by contacting your former landlord in writing. A formal letter or email provides documentation of your communication. Clearly state the date you moved out, the amount of your security deposit, and request its prompt return. If deductions were made, request an itemized list explaining each charge and supporting documentation, such as receipts for repairs. Keep copies of all correspondence.
If you are unable to resolve the issue with your landlord directly, you may need to pursue further action. This can include filing a complaint with your local housing authority or pursuing legal action in small claims court. Document all communication and gather any evidence supporting your claim, such as photos or videos of the property’s condition when you moved out.